Eclipse is a free and open source IDE (Integrated Development Environment). One of its characteristics is its modular design that enables compatibility with multiple programming languages. Some of them (like Java, C++ or PHP) are integrated by default in Eclipse but other require additional configurations that must be completed by the user. This is the case of Python.
PyDev is an Eclipse plugin that enables Python integration.
This post provides detailed instructions about how to install Python in a computer and integrate it in Eclipse on Windows 10/11 operating system.
Eclipse is one of many IDEs available for Python. Consider it among other alternatives like the Python official IDE called IDLE or the command-line-based python.
Tested Configuration
I performed this process on Windows 10. The steps, results and issues found may vary on different computers and OS.
In my case implied installing the following software versions:
- Python 3.10.0
- Eclipse IDE 2021-09 (4.21.0)
- Java JRE 1.8.0_301
Eclipse IDE is supposed to install Java JRE automatically, but I installed it myself beforehand.
Step-by-step Installation and Configuration Instructions
1. Install Python interpreter
Download Python installer from this external link.
Launch installer and follow wizard instructions.
1.1. Python Windows installation
These are the specific instructions for Python on Windows.
Double click installer.
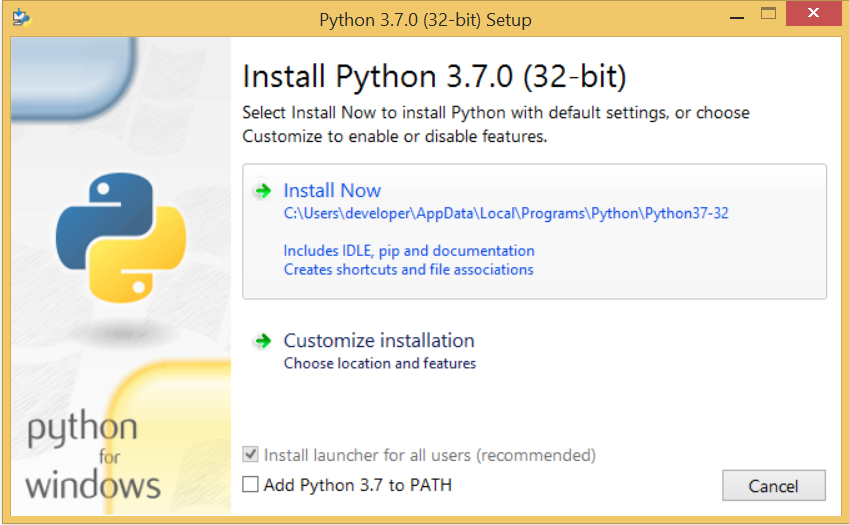
On the initial installation screen, ensure that:
- Checkbox “Add Python 3.10 to PATH” (or whatever the version you are installing) is selected
- Click on “Customize installation”.
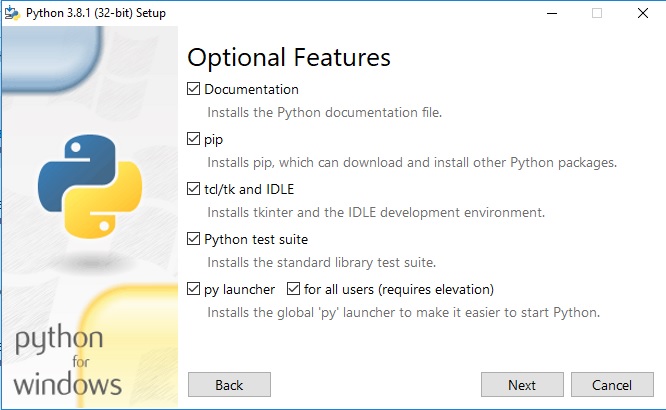
In the “Optional Features” screen, just click “Next”.
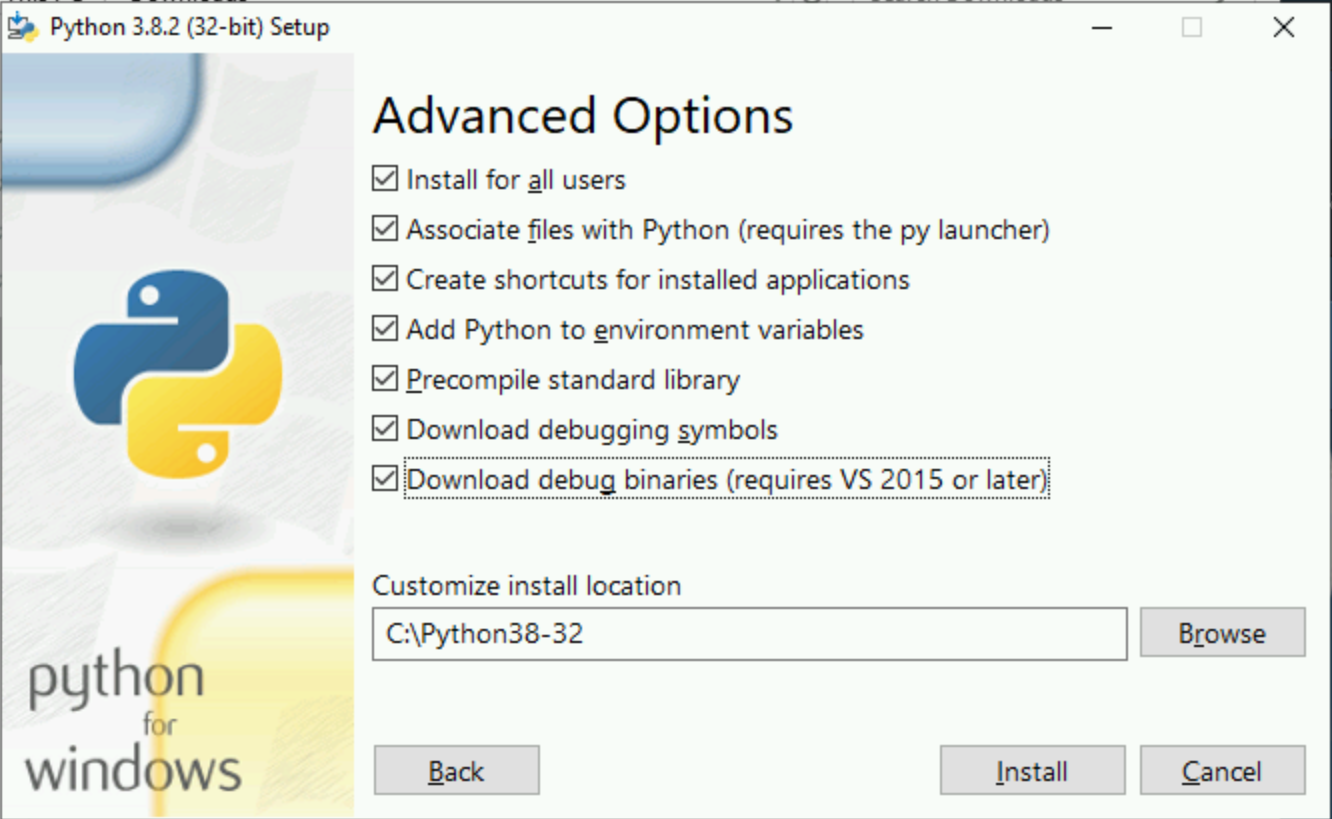
In the “Advanced Options” step, ensure that
- “Install for all users” checkbox is selected. This will make easier to configure Eclipse integration.
- “Customize install location” is automatically updated on the previous step
- Check “Download debugging symbols”
- Check “Download debug binaries” (requires VS 2017 or later)
Click “Close” to close the installation wizard.
2. Ensure Python works in command line
Go to command line or terminal and type python or py. It should recognize the command and run the interpreter.
Inside the interpreter, type:
print("Hello world!")
The reply should be:
"Hello world!"
To quit Python interpreter and go back to cmd, type exit() o quit().
3. Update Python
PIP is a package manager for Python packages.
I found that even when I have just downloaded the last version of Python, the last version of PIP had not been installed. This step ensures the latest version of pip is installed.
Go to command line or terminal and run this command:
python -m pip install --upgrade pip
Wait until the installation is finished.
4. Install Eclipse
Download it from Eclipse download page (this link).
Follow wizard instructions.
There is no default configuration for Python, so you can choose anyone, for example, “Eclipse IDE for Java Developers”.
Wait the installation process to finish.
5. Run Eclipse
Eclipse will be run automatically after completing the installation. In case it does not open automatically, run it manually.
6. Change Eclipse to a language different to English (optional)
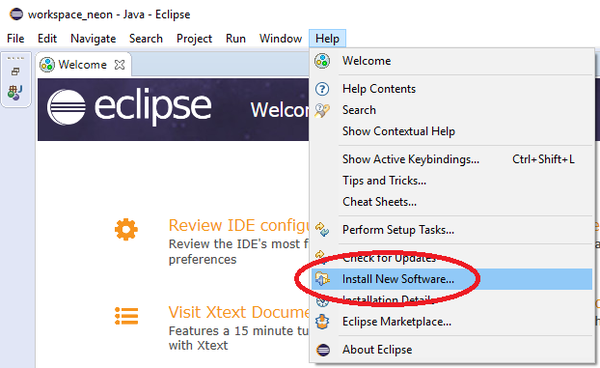
- Open the install wizard with ‘Help’ > ‘Install new software…’
- Add the Babel p2 repository: https://download.eclipse.org/technology/babel/update-site/R0.19.1/2021-09/
- Enter the URL in the “Work with” textbox
- Click on “Add…” button
- In the “Add repository” dialog, enter “Babel p2 repository” in “Name” textbox and click “Add” button
- Wait. It can take some minutes.
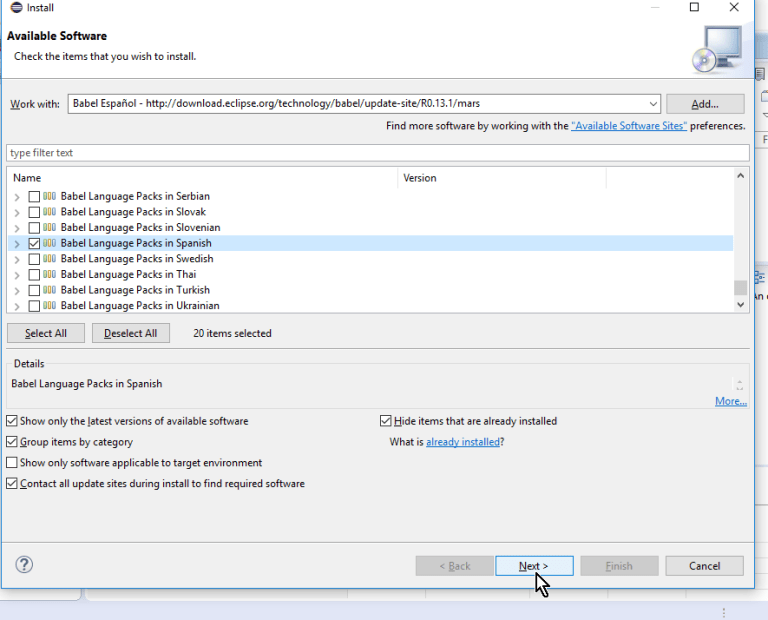
- Select/install your language pack of choice
- When table is fetched, find the filter textbox and enter the text “Babel Language Pack in…”, completing the sentence with the name in English of the desired language.
- Click “Select all” button and click “Next”
-
- Review the items to be installed and click “Next”
- Accept the terms of the license agreement and click “Finish”
- Installation progress is displayed on bottom right of Eclipse’s main screen. Wait until installation is finished
- If a dialog informs “Warning: Installing unsigned software…”, click on “Install anyway”.
- Restart Eclipse and you should get a translated Eclipse
- Click “Restart Now” when restart is offered in a dialog box.
- Eclipse will be displayed in your selected language
To read more info about Eclipse Babel Project (translations attempts for Eclipse) and get an updated Babel repository URL, visit this link.
7. Install PyDev extension
While in Eclipse, go to “Help” > “Install new software…”.
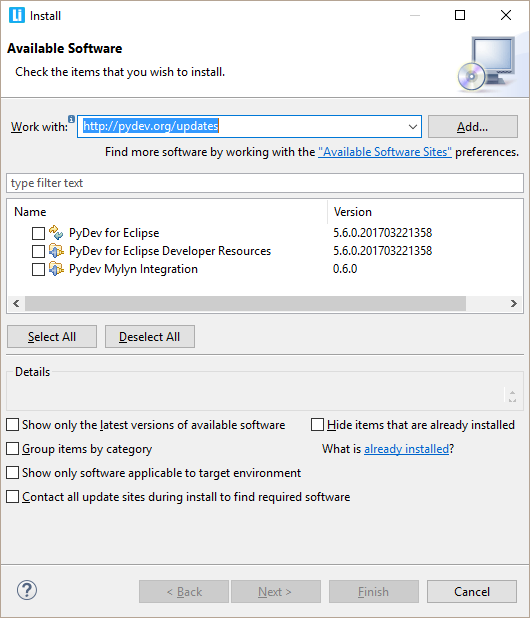
Add the Python repository: http://www.pydev.org/updates
- Enter the URL in the “Work with” textbox
- Click on “Add…” button
- In the “Add repository” dialog, enter “PyDev” in “Name” textbox and click “Add” button
- Wait. It can take some minutes.
Select package “PyDev”.
Optionally you can also select “PyDev Mylyn integration (optional)”), the developer resources which provide the PyDev source code.
Click “Next”
Have a look at the review screen, and click “Next”.
Review licenses in the licenses screen, accept terms and click “Finish”.
Installation progress is displayed on bottom right of Eclipse’s main screen. Wait Eclipse to complete installation.
If a dialog informs “Warning: Installing unsigned software…”, click on “Install anyway”.
Restart Eclipse, as proposed in dialog.
For more information about the PyDev installation process on Eclipse, check this link.
8. Configure Eclipse to work with Python
While in Eclipse, go to menu bar > “Windows” > “Preferences”
In the Preferences window, expand “PyDev”, then expand “Interpreters” and select “Python Interpreter”.
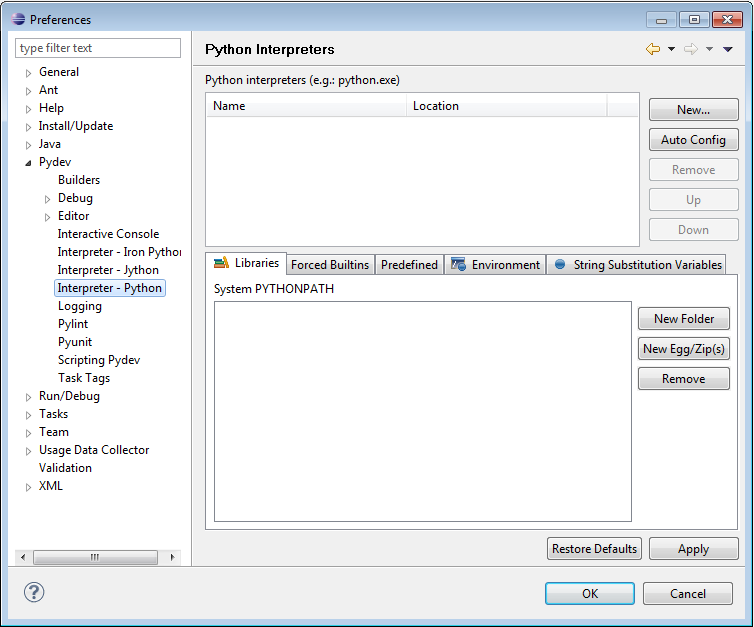
On the top section of “Python interpreters”, click on “New…” button > “Browse for python/pypy.exe”
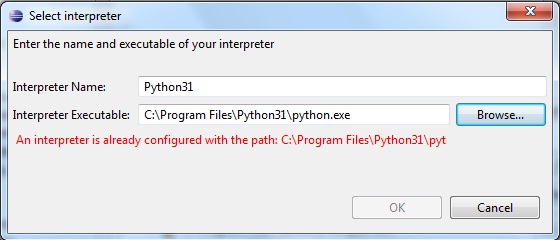
A file selector will be automatically opened. Select file whose default path is C:\Program Files\Python310\python.exe. This path may vary depending on your OS, OS language and Python installation folder.
If you have not selected option “Install for all users” during Python installation, path may be C:\Users\username\AppData\Local\Programs\Python\Python310\python.exe
When you are back in the “Select interpreter” dialog, click “OK”.
Interpreter Name was “python”.
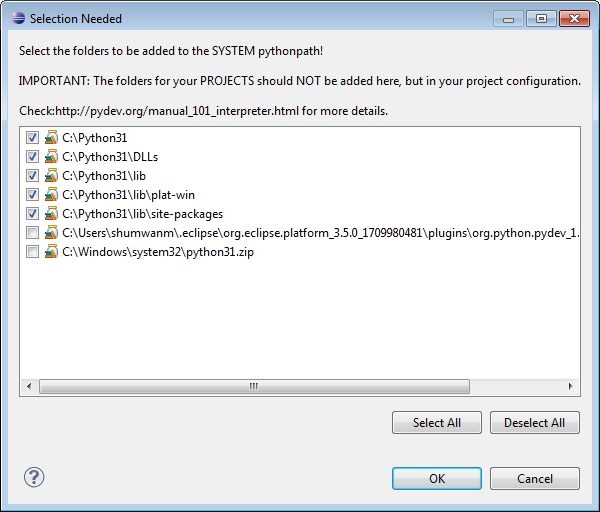
Then, the “Selection need” dialog appears with all checkboxes selected. Click on “OK”.
Note: ensure there is not a note inside packages screen saying that you must update pip. If this is the case, check the instructions in step “Update Python”.
Click on “Apply and close” button.
If you are a Windows user, you may receive a Windows firewall warning from Eclipse at this point. Click “Allow access”.
Wait until Eclipse configuration is completed. You may find the progress on the bottom right corner of Eclipse main screen.
For more info about how to configure Eclipse, check this link.
How to create and run a Python project in Eclipse
It makes sense to test the results right after you have finished the Eclipse and PyDev configurations. The best way to do it is create a simple Python project on Eclipse, run it and check if it works.
Please find the detail instructions about how to create and run a Python project in Eclipse on this other post.
You might be also interested in…
- Introduction to Python
- How to create a Python project in Eclipse
- How to configure Eclipse for Python on Ubuntu
External references
- “Install PyDev“; PyDev
- “How to configure Eclipse for Python“; Rose-Hulman Institute of Technology – Computer Science & Software Engineering
- “¿Cómo cambiar el idioma de Eclipse a español? (parte 1)“; NGuerrero; 2019-09-19 (Spanish)
[…] How to configure Eclipse for Python on Windows 10 […]